


Tips for doing gel nails at home – Achieve salon-quality gel manicure in no time
Do you love beauty and want to create your own impressive gel nail designs at home? Are you afraid to go to the salon because the wait is too long? With detailed instructions and tips for doing gel nails at home, you can completely confidently apply gel polish easily and have the beautiful nails you want without having to go to the salon.
Let’s start your nail beautification journey at home now!
Benefits of doing gel nails at home
DIY gel nails at home are increasingly popular with many young people because of the following outstanding advantages:
- Cost savings: Compared to going to the salon, doing gel nails yourself helps you save a decent amount of money. You only need to invest initially in the kit and gel polish, then you can use it many times.
- Flexible time: You can freely be creative and get your nails done anytime you want, no need to wait or make an appointment like when going to a salon.
- Various designs and colors according to your preferences: You can unleash your creativity and experiment with many different designs and colors without being limited by the nail salon’s menu.
- Helps relax and be creative: DIY gel nails are a great way to relax after a long day at work. You can get your nails done while listening to music, watching movies or chatting with friends.
In addition, doing your own gel nails also helps you:
- Improve your beauty skills.
- Increase confidence and dexterity.
- Have a new hobby for entertainment.
See more:
- Combination skin lotion care guide and 10+ best products
- Answering questions: Why is my face oily after skincare?
- Review Facial treatment essence sk2 is it really good?
Tools needed to prepare when doing nails at home
To start your journey of doing gel nails at home, tools are something you cannot ignore. Below, we will introduce the tools you need to prepare:
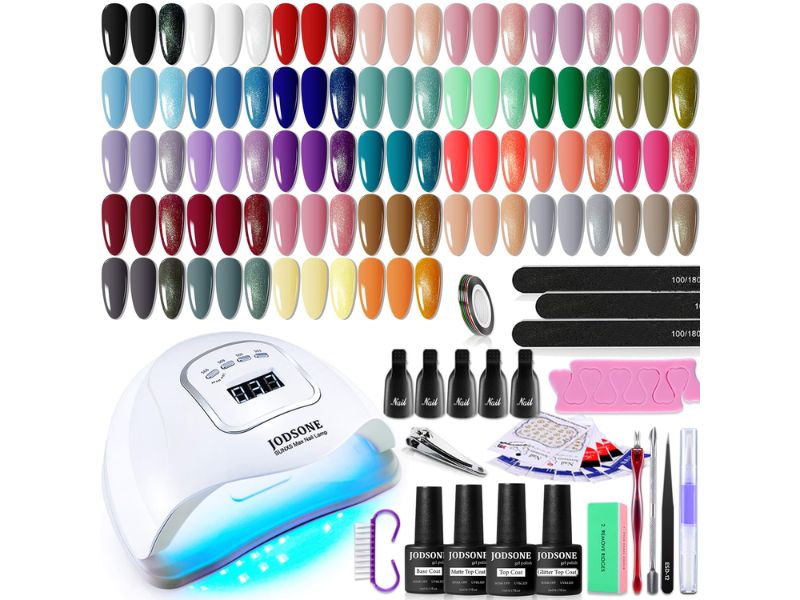
Gel nail kit
Gel nail kit is a set of products or tools used to create and beautify gel nails. Depending on the level of professionalism and type of nail service, kits can range from basic kits for the home manicurist to professional kits used in nail salons.
Benefit:
- Buying a set of tools helps you save more than buying each tool individually.
- The tools in the set are designed to suit the intended use.
- Tool sets often have neat containers that do not take up too much space.
Suggested products needed in the basic tool kit:
- Nail file: Shapes and smoothes the nail.
- Buffer: Creates shine to nails.
- Base coat: Creates a good adhesion base for gel polish.
- Gel polish: Various colors for you to choose according to your preferences.
- Top coat: Protects the gel coat and creates shine.
- Gel lamp: Dries gel polish.
Gel polish
Popular types of gel polish on the market:
- Monochrome gel polish: Suitable for those who love elegant and gentle style.
- Glitter gel polish: Creates a sparkling effect, making your nails more prominent.
- Glitter gel polish: Gives you a unique and outstanding beauty.
Notes when choosing gel polish color:
- Choose a paint color to suit your preferences and skin tone.
- You can combine multiple paint colors to create highlights.
- Prioritize choosing to buy gel polish from reputable brands to ensure quality.
Other Tools
- Nail polish remover cotton: Used to remove old gel polish.
- Cotton swab: Used to correct small details.
- Cleaning paper: Used to clean nails before painting.
- Nail oil: Helps keep nails strong and soft.
With these tools, you can unleash your creativity and create your own unique gel nail designs in your style. A new challenge worth trying, right? But how to do gel nails at home? See in the next section.
Tips for doing gel nails at home with simple steps
Prepare all the tools and do the following steps:
Cleaning and shaping nails:
- Trim your nails neatly and use a nail file to the desired shape.
- Remove excess skin around the nail with a cuticle pusher.
- Use a cotton ball soaked in nail polish remover to clean dirt and oil from your nails.
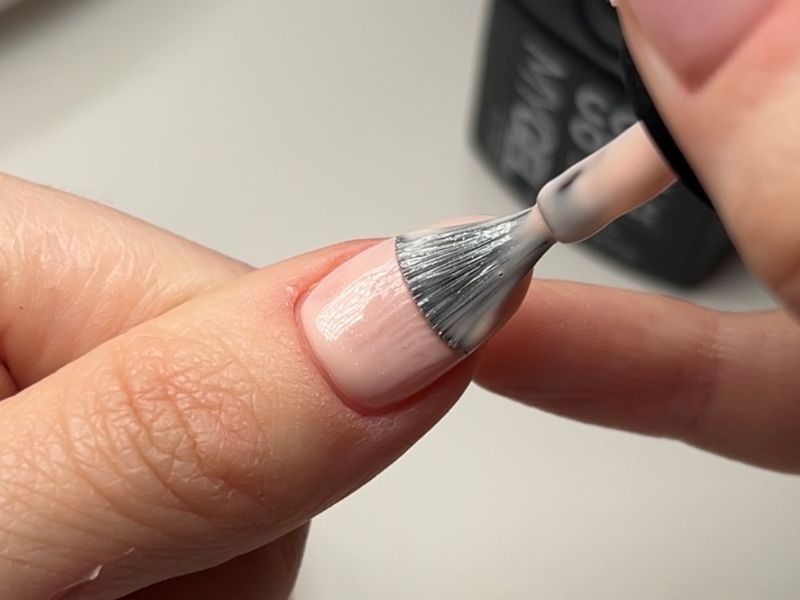
Base coat:
- Paint a thin layer of base coat evenly on the nail, covering the tip of the nail as well.
- Dry nails under LED/UV lamp for 60 seconds.
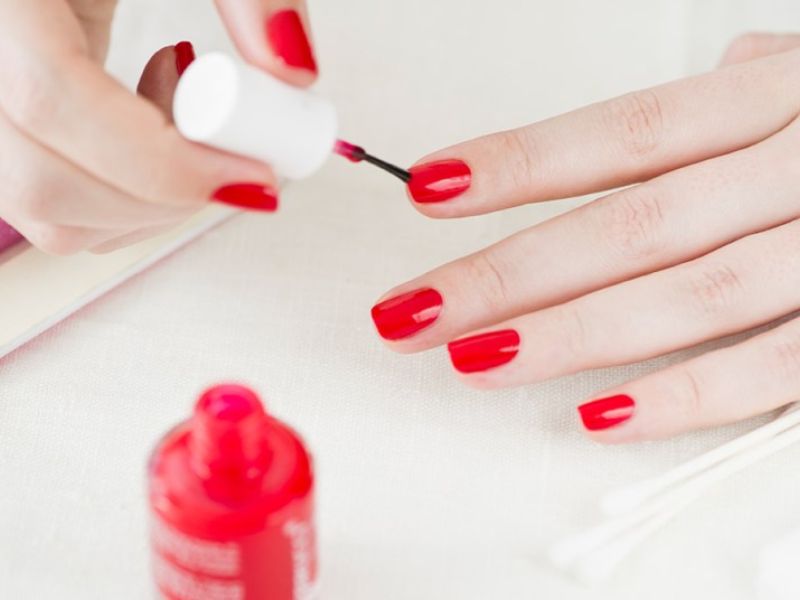
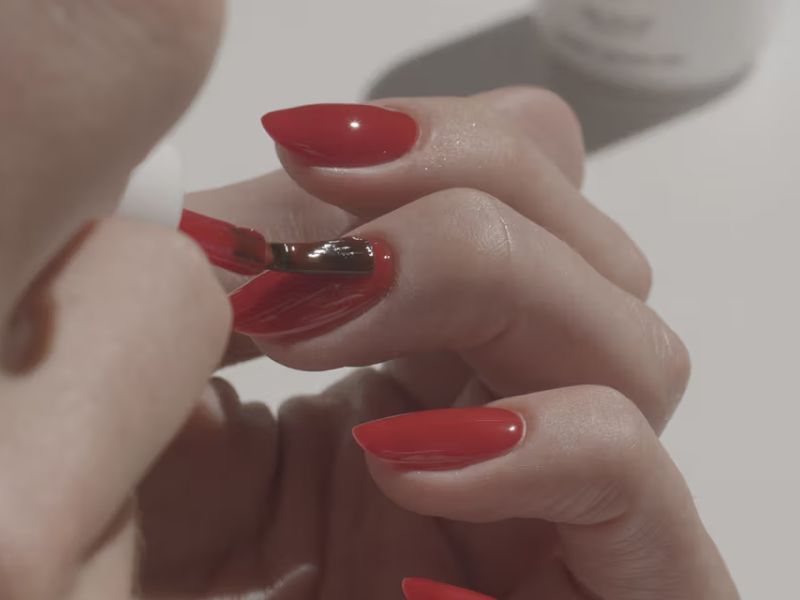
Color gel polish:
Apply 2 thin layers of colored gel evenly onto the nail, each layer is dried under an LED/UV lamp for 60 seconds.
Top coat paint:
Paint a thin layer of top coat evenly on the nail, paying attention to covering the tip of the nail as well.
Dry under LED/ UV lamp for 60 seconds.
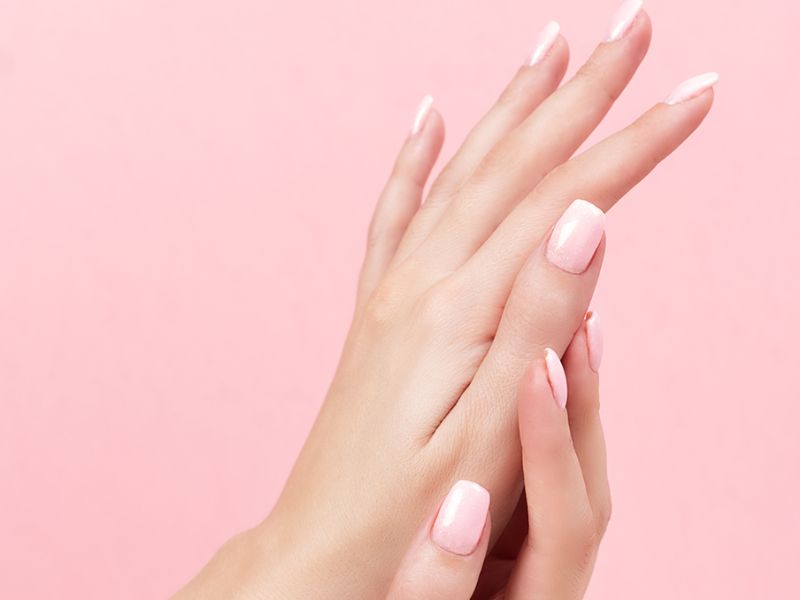
Cleaning and finishing:
- Use a cotton ball soaked in nail polish remover to wipe off the gel stuck to the skin around the nail.
- Use conditioner to nourish your nails.
See more:
- Discover the simplest facial care routine for oily skin
- Reveal morning skincare routine for combination skin
- Discover a simple and effective night skincare routine for combination skin
Tips for beautiful, durable gel nails
In addition to the above instructions, you also need to know a few more tips to keep your nails beautiful
- Remove gel nails properly: Use pure acetone and foil to remove nails, to avoid damaging nails.
- Nurture your nails after removing the gel: Add nutrients and vitamins to your nails with nourishing creams and oils.
- Rest between gel applications: Give your nails time to recover, avoid applying gel continuously.
- Nutrition: Supplement foods rich in vitamins and minerals for nails.
FAQs about tips for doing gel nails at home
Q1: Should I use primer when doing gel nails?
Should use. The reason is that the primer layer helps increase adhesion and protect the real nail from the color gel layer.
Q2: How long can gel nails last?
2-3 weeks depending on gel quality and how to care for your nails.
Q3: How to prevent nail gel from peeling?
Make sure your nails are clean before applying gel, apply each thin layer of gel, and dry it through the machine for the right amount of time.
Q4: How to dry gel nails faster?
Use a gel dryer with a higher capacity or heat each layer of gel longer than the prescribed time.
Q5: How to remove gel nails?
You can use a cotton ball soaked in gel remover solution and apply it to your nails. Then, wrap it in foil, wait about 10-15 minutes, then use a wooden stick to push the gel off the nail.
Q6: How to apply gel top coat?
Apply a thin layer of top gel, and heat for 60-120 seconds. This is a coating that helps protect and create shine for the nails.
So Evaworlds has just shared with you a very simple tip for making gel nails at home. In short, doing gel nails at home is a way to save you money and give you creative space. Take the time to prepare your tools, choose quality products, follow instructions carefully, and don’t be afraid to experiment with different colors and styles. With perseverance and a little ingenuity, you will have a beautiful set of nails.