


How to clean makeup sponges?
How to clean makeup sponges are an extremely important step in skincare and prolonging the life of the product. In this article, let’s learn with Evaworlds how to clean sponges effectively and simply at home.
How often should you wash your makeup sponge?
Regular cleaning of your makeup sponge is extremely important. Ideally, you should wash your makeup sponge after every use. However, this can be difficult to do because as a general rule, makeup sponges should be washed every 2 or 3 days depending on usage.
We probably don’t need to mention why we do this because it’s pretty self-explanatory. Not only does foundation buildup look bad and make your sponge harder to use, but dirty sponges can be bad for your skin.
How to clean makeup sponges?
A makeup sponge is a popular beauty tool used to blend foundation, concealer, and other liquid or cream makeup products onto the face. It comes in a wide variety of shapes and sizes, from the traditional round to teardrop or triangular.
Why should you use a makeup sponge?
- Evenly blend foundation: The sponge helps to blend foundation evenly, quickly and effectively, creating a smoother and more natural foundation layer than using a brush or your hands.
- Product amount control: You can easily control the amount of product by adjusting the pressure on the sponge.
- Create a glossy or matte skin effect: Depending on the application and type of sponge, you can create a glossy or matte finish.
- Convenience: Compact makeup sponge, easy to carry and use.
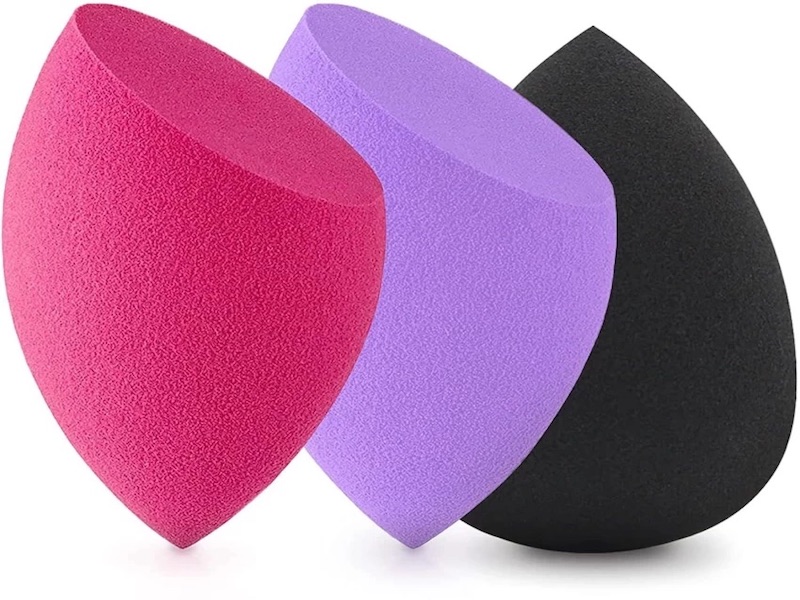
Some popular types of makeup sponges
Here are some of the most popular types of makeup sponges:
- Round sponge: This is a traditional sponge, that has good elasticity, suitable for spreading evenly over large skin areas.
- Teardrop-shaped sponge: One pointed end for spreading concealer, large round end for spreading foundation, very convenient.

- Triangular sponge: Easy to reach hard-to-spread skin areas such as the nose wings, corners of the eyes.
- Sponges made from other materials: In addition to traditional polyurethane sponges, there are also sponges made from natural fibers, silicone sponges, … each type has its advantages and disadvantages.
How to use a makeup sponge
Here are 4 steps to using a makeup sponge:
- Moisten the sponge: Before use, you should moisten the sponge with clean water to soften the sponge and help spread the product more evenly.
- Take a sufficient amount of product: Gently squeeze the sponge to get a sufficient amount of product onto the sponge.
- Spread evenly: Use the sponge to gently dab onto the skin in a circular motion or pat lightly.
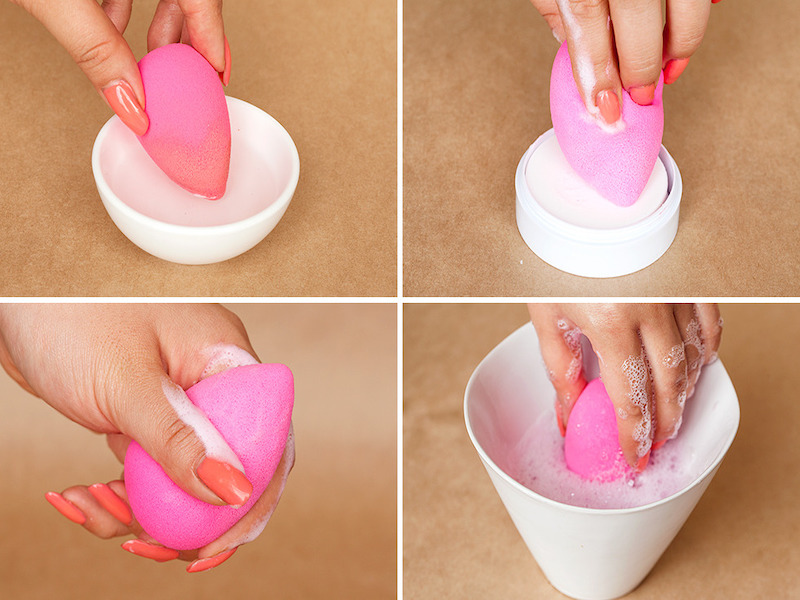
- Cleaning: Wash the sponge with a mild cleanser or shower gel after each use to remove dirt and bacteria.
Note:
- Replace sponges regularly: Makeup sponges should be replaced after 2-3 months of use to ensure hygiene and effectiveness.
- Proper storage: Store sponges in a cool, dry place.
How to dry a makeup sponge?
Caring for your makeup sponge is important if you want it to last, and that means cleaning it properly but also drying it well. Are you drying your sponge properly? Maybe you just want to know what to do to dry it properly, so it doesn’t get moldy or bacteria.
Here are a few steps to follow to dry your makeup sponge:
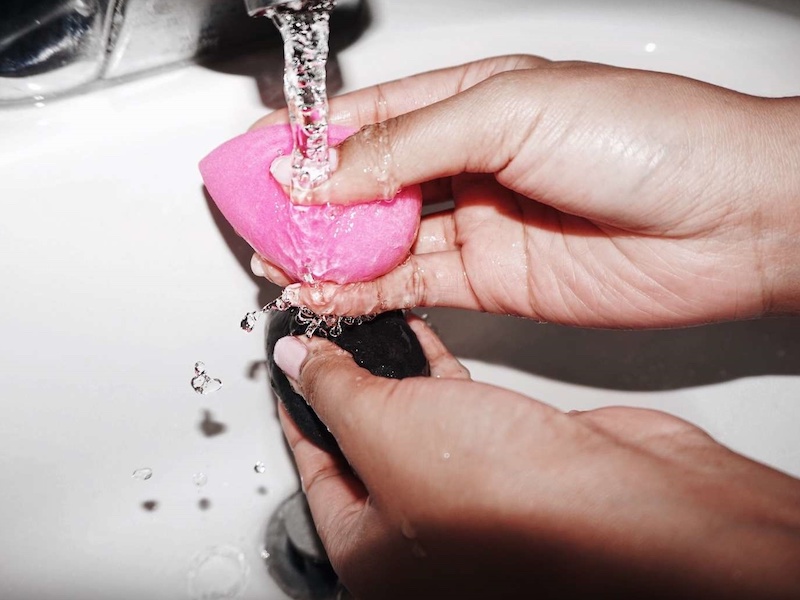
- Once your sponge is clean, turn off the water and squeeze out any excess water.
- Take a clean towel wrap your sponge in it and squeeze out any remaining excess water. Repeat this step a few times until you feel like your sponge is mostly dry.
- At this point, set your sponge out overnight to dry completely. Once your reusable sponge is dry, it will shrink back to its original size.
Sometimes, you may find that your sponge is still damp after you use a paper towel to absorb the water. You should then place it in a dry place to allow it to dry naturally as letting it dry completely before use is always the best practice.